Upload a dataset
This section will guide you how to upload data to CryoCloud - either via our web-application, sftp or using the CryoCloud Uploader.
We recommend using the Web-App for data uplaods as we are currently re-working our CryoCloud Uploader.
Dataset Upload via CC Up
The CryoCloud Uploader (CC Up) is a standalone application that allows for the fastest and most stable upload from any system. You can Download CC Up on the bottom left after logging in to app.cryocloud.io.
Please note that these are beta versions that are not signed yet with the Windows & Mac stores. After downloading the software, please click "Run anyway" for windows during the installation process to complete the installation. For Mac OS run the following command after moving the app to Applications: xattr -d com.apple.quarantine /Applications/CryoCloud\ Uploader.app
After completing the installation, running CC Up will open your web browser and it will automatically connect with the web-app.
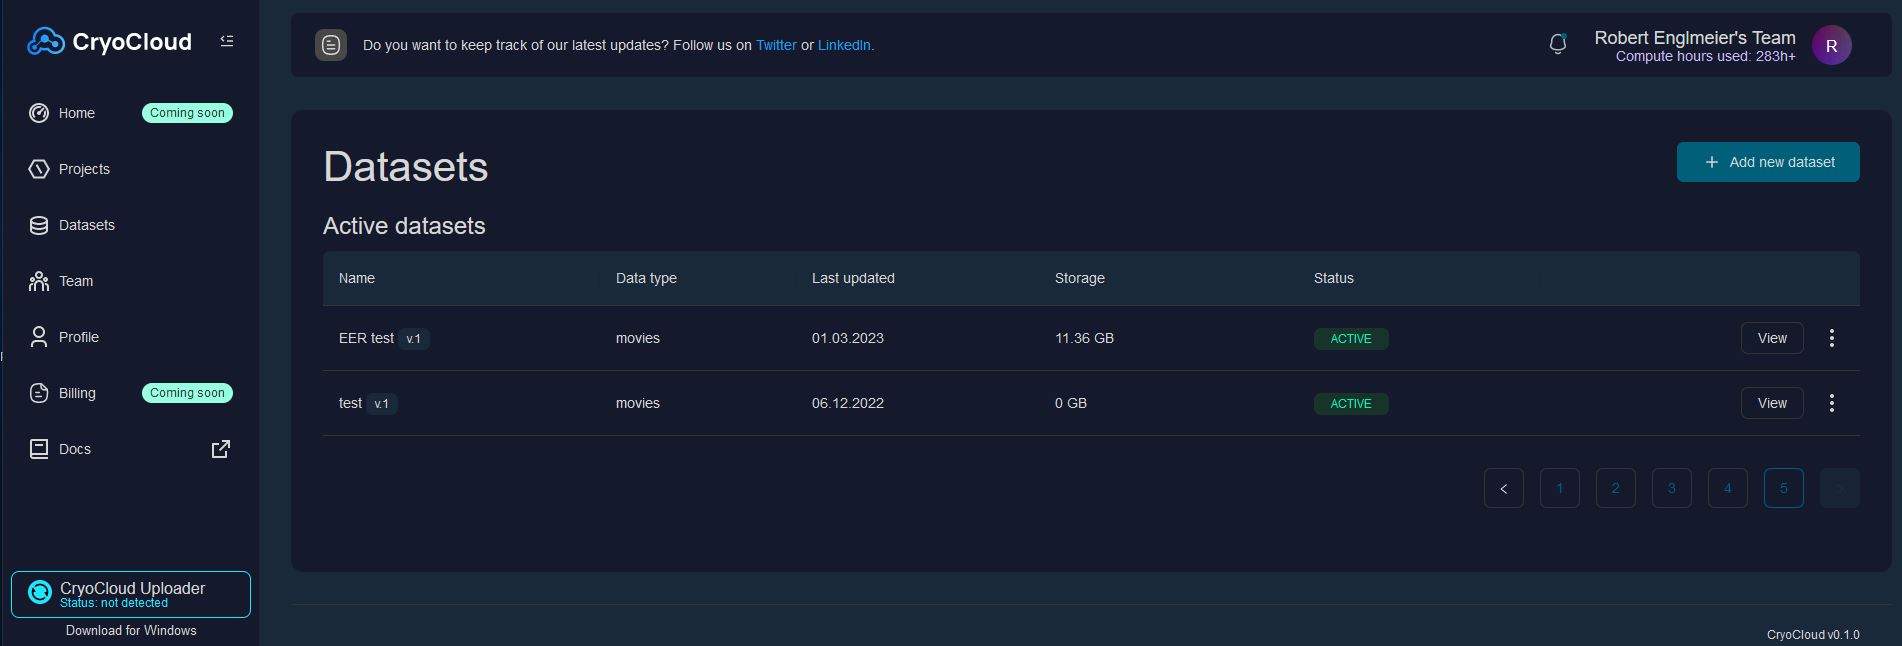
To create a new dataset, follow the following steps:
- Go to the Datasets view
- Click the "+" on the top left and specify a dataset name, type & file format (e.g. movies & .tiff).
To upload data, follow the following steps:
- Open the dataset entry.
- Clicking "Edit dataset" on the top right
- Specify your optics in the top
- Upload files via the bottom section.
- Use the toggle "skip existing files" if you want to add data to an existing dataset, and uncheck "check file type if you want to upload additional data other than the dataset file type (e.g. gain references, see below).
A star file containing all movies will be automatically generated after your upload of data is finished.
To link a gain reference to the dataset:
- If you uploaded a gain reference for the dataset, make sure to link it by selecting it in the gain reference field.
- If you have a .mrc gain reference and a different dataset type (e.g. .tiff dataset format), untoggle "Check file type" to upload it and link it.
Linked gain references will automatically be pre-filled if you set up a motioncor job for the dataset.
Dataset Upload via web application
We recommend files uploads via the web application for individual files and small datasets up to 2 TB. Click on the **Dataset** tab on the left, and then +New dataset on the top right. Specify dataset name, dataset type (e.g. movies or aligned frames) and file format (.tif(f), .mrc)
Follow the same steps as for CC'Up to upload data, edit parameters or link gain references.
Snapshots keep track of your starfile versions, this is handy if you want to add more files or change some of the parameters later on, e.g. if you made a mistake.
Dataset upload via sftp
If you prefer uploading large amounts of data via the commandline using sftp, please contact us. We can set up a sftp server for you and provide you with the credentials for data upload.
Uploading particle stacks
CryoCloud provides the option to upload particle stacks and continue downstream analysis by running 2D classification, Initial model, 3D classification or 3D refinement jobs using the particles (Note: if you want to continue with 3D classification & 3D refinement, please make sure to upload the reference map to your project files).
To do so, you will need to provide the following files:
- Extracted particle stacks in .mrcs format
- A metadata file of your particles (particles.star).
To upload the data, please follow the same instructions as provided above for movies and micrographs but make sure to link the particles.star after it is uploaded. In brief, follow the following steps:
- Create a new Dataset in the dataset view and specify as Type and as file format.
- Click , and select your local folder which contains the particle stacks to start the upload.
- Select the corresponding particles.star file in your local directory and upload it.
- After the particles.star file is uploaded, link it to the dataset by selecting it from the dropdown at the bottom of the page and click .
The last step is critical and will create a particles.star file that you can use as input for jobs in your projects.